How To Edit Like A PRO? Edit Photos In Mobile For Instagram.
How To Edit Instagram Photos Like Pro In Mobile.
If You are editing lover So You are Very Right Place.Now Today I will Teach You How To edit Instagram Photos Like Pro In Mobiles or PC.

This Is Going To Be very Crazy And I hope You Definitely Loved It.

How to edit like a pro

Oh! Oh hi there.
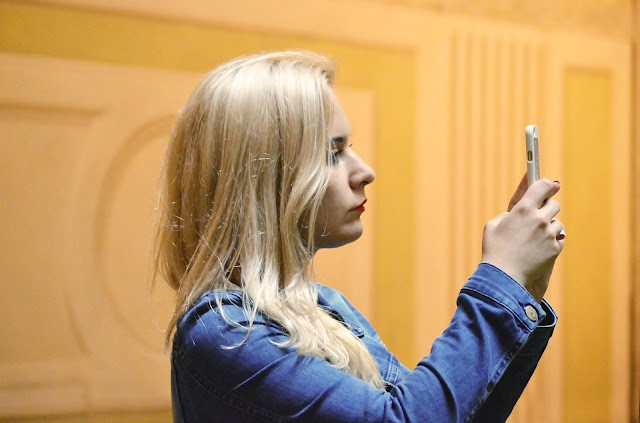
Today, I'm gonna teach you how I edit all my Instagram photos Honestly, my editing style changes every month it really depends on my mood. A lot of people think I use Lightroom and Photoshop Just because of the way my photos look, but you can achieve the same look with Snapseed So that's what I'm gonna show you guys today This is the photo that I am using. You've seen it on my Instagram before.

The first thing I do is I tune image just play with the basics so brightness/contrast For this photo it started off a little bit dark. I'm going to go up to about 30 I'm gonna up the contrast a little bit as well
I used to love turning down the ambience But now I'm obsessed with turning it all the way up but not that all the way up so I'll stick with 70.

I lower the highlights if you notice the sky changes a lot when you lower the highlights It just adds the blue back, so I'm going to lower it to about 47 And then
I'm gonna up the shadows a little bit just to add some more detail back into the picture so I'll go maybe about 16. Next step is I play with the structure and the sharpness. Structure all it does is adds a lot more detail into the shot So I don't want it to be too in-your-face so I'll do about 20 and then for sharpen

I'll do it a little bit as well so about 8. Now for the third step So you see there's HDR escape and grainy film those are my two favorite features to use in Snapseed it literally changes the picture completely I'll first go with HDR escape and there's four different features that you can choose from but I like to use people Because I'm the focal point of the shot.
I'll only go about halfway normally I just do between I don't know five and twenty but for this photo I like it to be a little bit more structured, so I'll go halfway And then I'll go into grainy film. If anyone looks at my feed right now It has a little bit of a vintage feel to it Which I'm obsessed with. Kind of going for that LA vibe.

The two filters that I use for grainy film are X03 and X04. Those are my two favorites But I like the look of X03 here, so I'll go with that first. I add a little bit of grain I don't do too much, so I tend to go 15 max And then for style strength... The default is at 80 so I'll lower it a little bit to maybe 60 and then I'll go back into grainy film And I'll add a little bit of X04 so

I won't add any grain because I've already added grain before So go back into style strength and I'll add a little bit of X04 for maybe like 20 or 30 so for this I'll do 30. The next step that I do is I go and play with the curves. Now this is a new step I never used to do this before There's really no kind of right way to play with this.

with the grainy film It tends to bring the orange tones in my skin I don't want to look like an oompa loopma so I'll kind of lower the red tones a little bit So if I show you before and after you can already see there's a difference just in the photo already.

I'm talking in an English accent I'm pretty bad at it, but we're just gonna go with the flow if you haven't subscribed please subscribe for more videos .
#instagram #editing #pro #photoediting #videoediting #photoshop #photoretouching #instaedit #editlikepro


Comments
Post a Comment
Hi ,
Guys I hope you will like my posts and article and you will help me to grow I am also a small user like you so please Help me to grow .